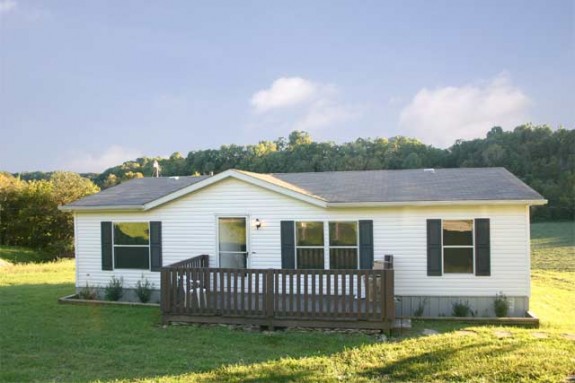
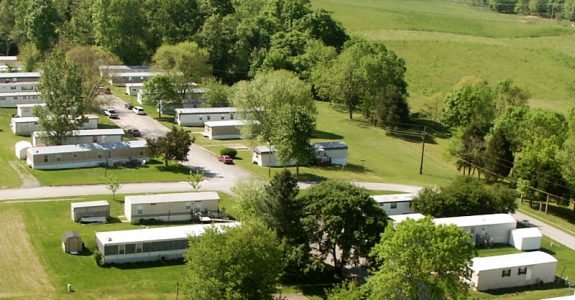
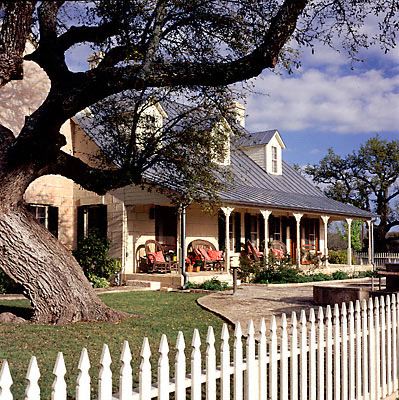
Many times, when talking with community owners or retailers about their online marketing, the subject inevitably turns to photographs. And just as often, we discover that the photographs on hand were taken when the opportunity presented itself, often during the winter or on gray, overcast days.

Photographs taken under these circumstances look dull and don’t show your community, sales lot or installations in their best light (photographer humor).

Right now, spring is springing into life all around us and it will soon be that time when the greenery is at its absolute peak. NOW is when you want to be photographing your community, sales lot or homes you’ve installed when looking their best.

Set aside some days (and alternate weather days) right now to be sure you or someone you hire gets those photos done and done right. Around my area (Central Kentucky), June is an ideal time to photograph when the foliage is fresh and green.

Here are some tips to get you started:
- Photograph exteriors during mid-day when the sun is shining and the skies are blue.
- When photographing interiors, use a very wide-angle lends or set your zoom to the widest angle possible. Keep the camera level to minimize “wide angle distortion.”
- Photograph front and rear of homes and all of the rooms from at least two angles. I am often asked for more photos, never for less.
- Be sure to photograph any special features of the home, location or community.
- Clear as much clutter out of the photo as possible. Remove anything that distract from the picture. Don’t let an unnoticed piece of litter ruin a good photo.
- Post-production. Use photo editing software to enhance the photos and remove distracting elements, such as too much ceiling or floor.
- Use a quality camera (not your cell phone) and you will get better quality photos.
- Remember that the photos will only be as good as the photographer. If photography is not your fortá, hire a professional.
Other sources of Real Estate Photography Tips:
